Use Transfer Gates
Use transfer gates to reference an existing FTA node or to collapse a branch into a simpler representation.
Reference an existing node
- In the diagram palette, select Tools > New Transfer Gate.
- Drop the transfer gate on the required parent gate.
- Double-click the new transfer gate and set its Label and Name.
- Next to Referenced FTA node, select the three-dot button.
- Choose the existing node and select OK, then Finish.
- Confirm that the transfer gate appears with a small yellow-arrow symbol.
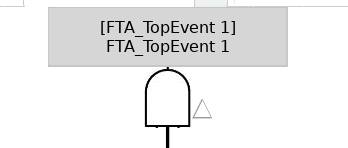
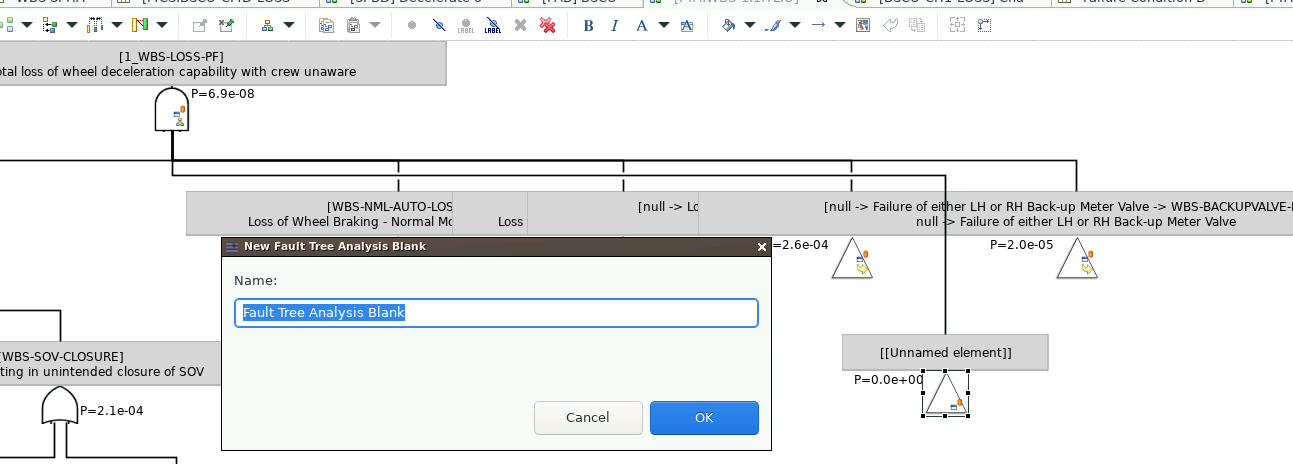
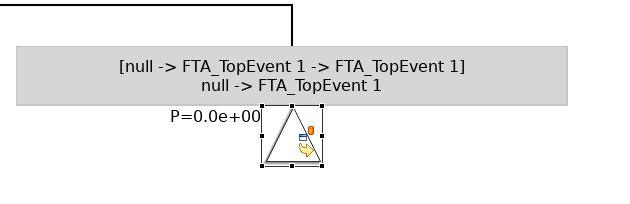
The transfer-gate label is generated automatically from the associated nodes.
Double-click the transfer gate's yellow-arrow symbol to open the diagram that contains the referenced gate. If a target diagram has not yet been selected, ATICA prompts you to select one.
Find trees that reference a gate
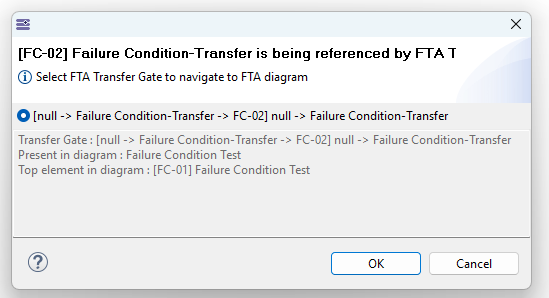
- Double-click the small transfer or triangle symbol beside the referenced gate or node.
- In the dialog, select a referencing tree.
- Select OK to open that tree.
Simplify a branch
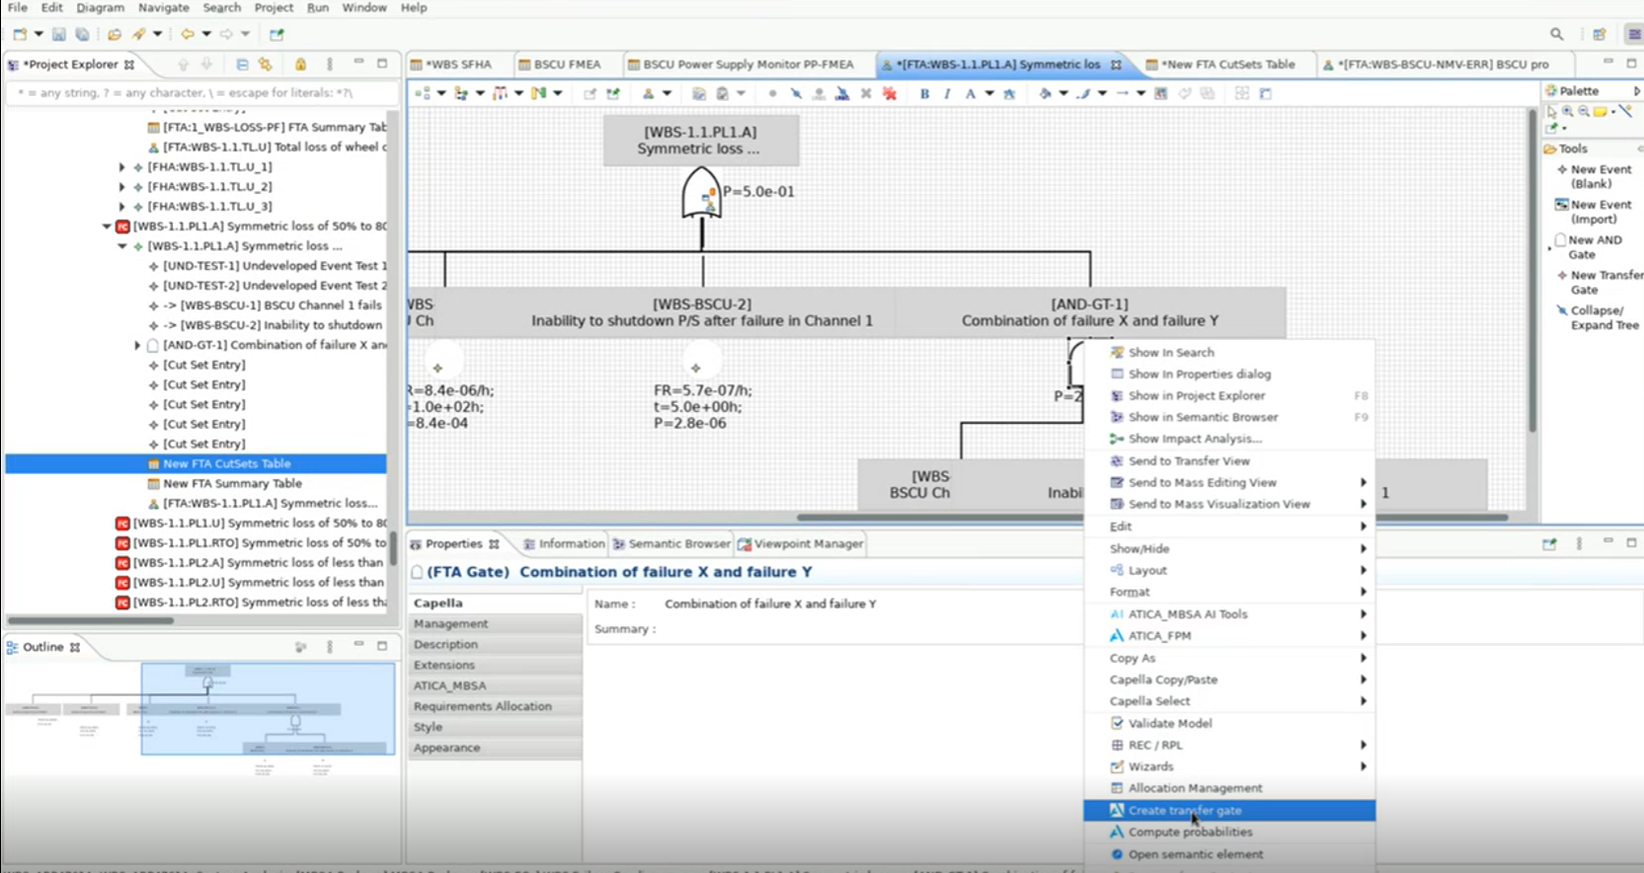
- Right-click the gate whose branch must be simplified.
- Select Create transfer gate.
- Confirm that the selected branch is collapsed and its elements are grouped below the new transfer gate in the project tree.
Rearrange the tree
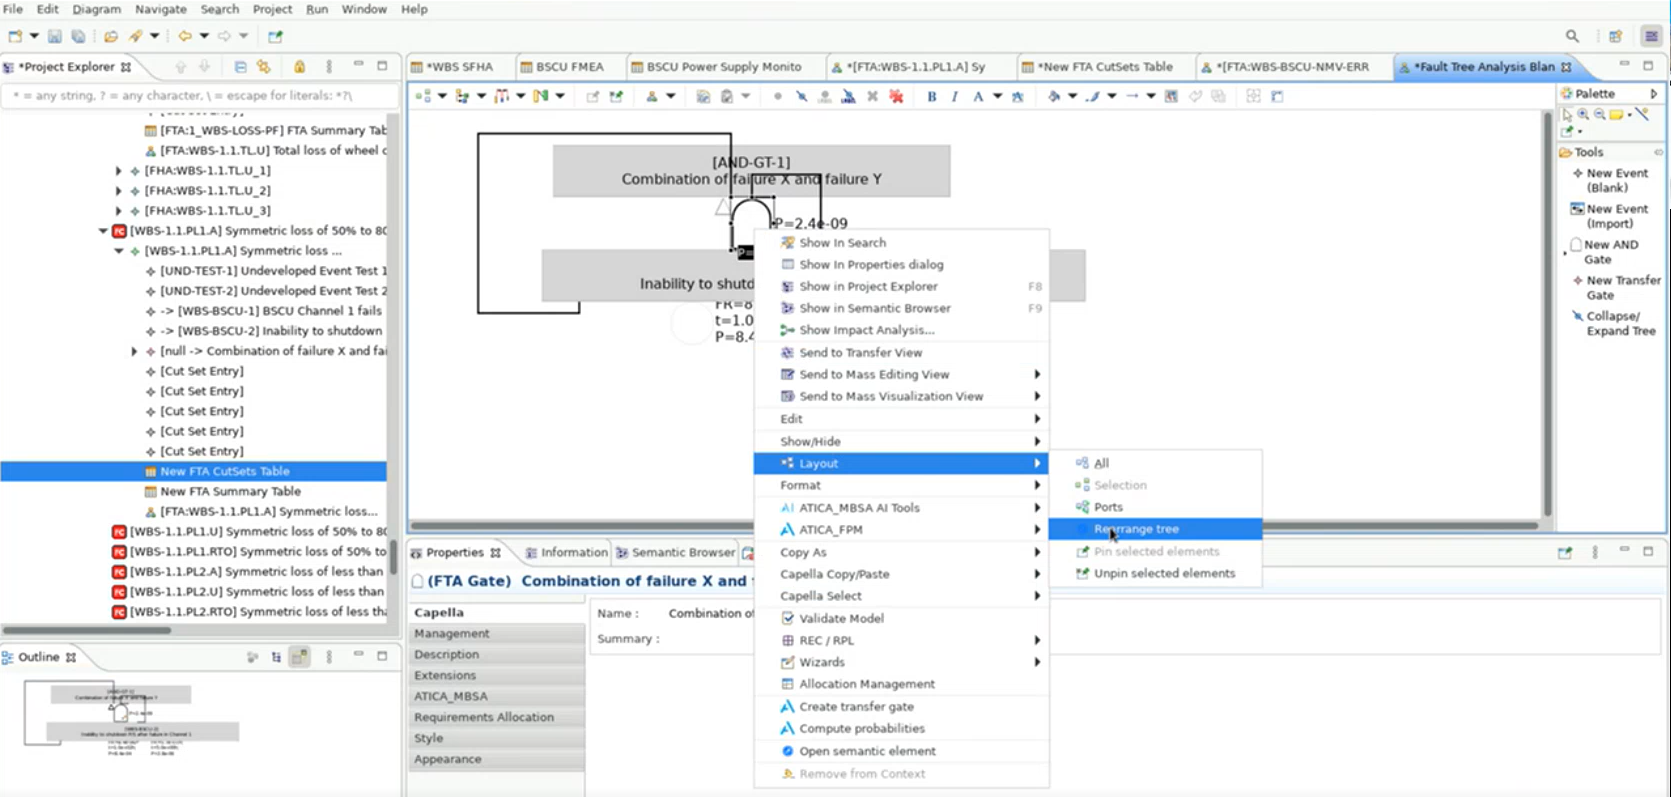
- Right-click the top gate.
- Select Layout > Rearrange tree.
Note
Rearrange tree does not always produce the layout a modeler expects. Fault trees are often easier to read when arranged manually, so review the result and reposition the tree elements when necessary.